This assignment also makes me think about this OMD song titled Secrets:
For this assignment, you will create a series of four images in response to learning a classmate's personal secret through a random process.
This assignment is largely about empathy. It is very easy to become self absorbed and to focus on our own troubles. In this assignment, you will think about other people's issues rather than your own. In the process, you may discover that you have similar issues in your own life.
You can respond to secret in anyway that you wish. You do not need to depict or re-enact the secret. You can interpret the secret very literally or very loosely. You might want to think of what situation led to the secret, how the secret changed their life, how they are living/dealing with the secret, what it would be like after the secret, etc. You may choose to think how you have dealt with a similar issue in your life or how you might deal with such an issue.
Also, feel free to choose whatever sex you want for the characters. For example, let's say a hypothetical secret is "I am ashamed of how my girlfriend dresses." You could choose to take a series about living with a poorly dressed boyfriend.
This resulting images are to be in black and white. You are to shoot them in color and make the conversion to black and white using PS, LR, or any other image editing applications.
Technically, the thing to remember is that the images need to have good separation of tone.
Dodge and burn as needed. I don't want you taking out any elements using PS or LR. The real work is in the conceptualization and the shooting.
Please take this assignment seriously with the belief that the secret you received is sincere. Please be respectful of one another.
Please read this short NY Times article titled An Exercise in Empathy.
By next Monday, I want you to have at least 2 images shot for the assignment.
Monday, March 25, 2013

Monday, March 18, 2013
Homework Due Monday, March 25th
1. Read the materials linked to the posting below about Black and White
2. Take 10 photographs which demonstrate creative use of Focal Length.
3. Edit those 10 photos to the best of your ability. Post these images to Flickr in a Set titled Creative Focal Length Color. Be sure to think through your choice of shutter speed and aperture for each shot as well.
4. Convert them Black and White. This will take time. After you convert them to B&W, you will likely have to re-edit the tones of the image. Post these images to Flickr in a Set titled Creative Focal Length B&W
2. Take 10 photographs which demonstrate creative use of Focal Length.
3. Edit those 10 photos to the best of your ability. Post these images to Flickr in a Set titled Creative Focal Length Color. Be sure to think through your choice of shutter speed and aperture for each shot as well.
4. Convert them Black and White. This will take time. After you convert them to B&W, you will likely have to re-edit the tones of the image. Post these images to Flickr in a Set titled Creative Focal Length B&W
It's Black, It's White, Woohoo
The first thing you should do when preparing to convert your image to black and white is to first make a very nice color version of the image. Of special importance is the color correction/determination of correct white balance. Most of the methods used to convert an image to black and white are based on assigning tone based on color. If there is a color cast, then this will make it harder to make targeted edits to tone based on color.
Here is the handout that I wrote up back in 2006. It is a little dated, but most of it still applies. It covers many of the techniques that I demonstrated in class. All that is missing is the conversion available via Camera Raw and the Black and White tools within Photoshop proper.
Additional reading on Converting images to Black and White - please read these online books available via the library by Wednesday
Mastering Digital Black and White: A Photographer’s Guide to High Quality Black-and-White Imaging and Printing Chapter 5, the Color to Black and White section which discusses the Calculations method of conversion.
Some tutorials on using the Dodge and Burn technique
Why dodge and burn?
Non-Destructive Dodge and Burn in Photoshop
Here is an article about why you might want to Dodge and Burn.
Here is an article about using the Gradient Map method to convert an image to B&W.
Here is an article about using the Gradient tool to make a sky darker.
Some articles on toning images
Here is an article demonstrating multiple ways to split tone an image.
Here is another about multiple ways to add a Sepia tone to an image.
Monday, February 25, 2013


Monday, February 18, 2013
Homework for next class - Monday February 25th
1. From the book: The Art of Black and White Photography: Techniques for Creating Superb Images in a Digital Workflow - read Part III: Rules of Composition. The whole section. It will take you awhile. This book is available online through your library.
2. Create two, unique trichromy images. Upload them to Flickr. They should look awesome. If they don't, make new ones. THE ONE THAT YOU MADE IN CLASS AS A DEMO DOESN'T COUNT.
3. Bring your fully charged phone to class.
4. We will have a short quiz over the basics of editing RAW files using Adobe Camera Raw.
2. Create two, unique trichromy images. Upload them to Flickr. They should look awesome. If they don't, make new ones. THE ONE THAT YOU MADE IN CLASS AS A DEMO DOESN'T COUNT.
3. Bring your fully charged phone to class.
4. We will have a short quiz over the basics of editing RAW files using Adobe Camera Raw.
Trichromy

I wanted to follow up with the trichromy images that I showed you in class on Monday. Depending of whether you have any background using PS or other image editors, you may find it tricky to complete, so it won't be officially assigned until later when you have had some time to become more familiar with technical aspects of editing photos. It's going to be a 'floating assignment' in that it you will need to do it eventually, but it isn't due for quite some time. That being said, I'm confident that a number of you are quite familiar with PS and similar apps and could follow these instructions very easily. So, if you are feeling ambitious or have some extra time, feel free to go for it now.
French write-up with some really nice examples of the trichromy process.
Article translated into English using Google Translate
One clever aspect of some of his images are that he isn't using a tripod, so the images are a little bit off as well which results in color fringing throughout the image. He could easily 'register' the images in an image editor, but I assume he likes the look (so do I).

Below is a really nice use of the process. Image is by Flickr user Budzillab.
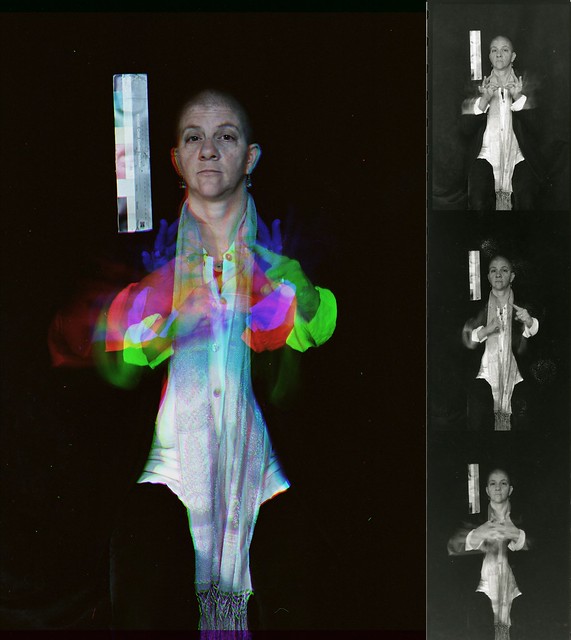
Even though this assignment is based on a technical/creative technique, I still want them to be great images. Please take some time and make a really strong image.
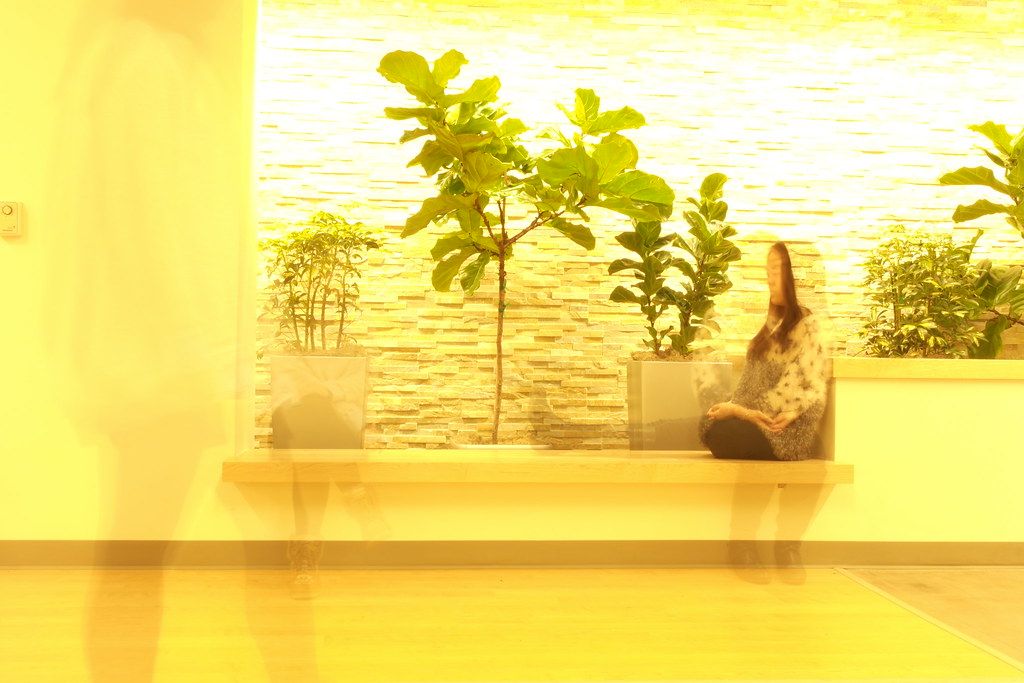
Below, is an image that I photographed and assembled as a demonstration for the class pictured.

Background
Some of the earliest color photos were taken and exhibited before the advent of color film materials. Prokudin-Gorskii was one such photographer. The Library of Congress has an excellent website dedicated to his work which explains the process that he used. Eseentially, he would take one photo for the Red light, one for the Blue, and one for the Green using black and white film. Then he would project the resulting images from three different projectors one each for Red, Green, and Blue. This would reconstitute a full color image. This is not to dissimilar from how most digital cameras record color (more on that at another time).
Trichromy via Multiple RGB Exposures
You can get a similar effect by taking three separate exposures on the same piece of color film using a red, green, and blue (the primary additive colors) filters respectively. If you are shooting digitally, you can achieve the same effect by taking one channel from each image (red, green, blue) and combining them into a new image. The trick is that have to use a tripod to take three photos of a scene in which part of it has movement and part of it does not (or not depending on the look that you want). The trick is that you have to pre-visualize how the resulting image will look once composited.
How to combine the channels into one composite image
In order to combine them into one as shown above, you first edit one of them using Camera Raw (assumes you captured your images as RAW files). Then synchronize all three images. Then take one of the images, select the Red channel, right click it, select Duplicate Channel, Create New, name it Red. The basically do the same for the other two channels, taking the Green from one image and the Blue from another. These new images will be in a weird Multichannel Mode. Go to Image > Mode and change the mode to Grayscale for each of them. Save each of the three files to the same directory as TIFFs (I don't think that you have to do this, but it is a good idea should something go wrong). Then, go to one of the grayscale files, let's say Red. Make sure the other files are also open so you should have three files open now, one named Red, one named Green, and one named Blue. Select one of the images. Go to the Channels Palette. Hit the little hidden menu icon in the corner to revel the drop down menu. Select Merge Channels. Then select RGB Mode. Make sure it is set to 3 colors. Then hit OK. It should automatically list the three channels that will make up the color version. Make sure all 3 channels are indicated in the correct order. This will then give you full color image. Are that didn't move should look normal and those parts that moved will have different colors to them.
NOTE: You will get a slightly different look by changing the images from which you took the respective primary color from. That is to say, you can take the Red, Green, and Blue channels from a different one of the original color images. This will result in the colors being different.
Putting together a Trichromy image using GIMP
Similar thread about free programs that can do this...
Here is a tutorial which pretty much ends up with the same results, but goes about it differently. The article refers it as being a Harris Shutter Effect. This process is really more like early color photography than a Harris Shutter as it requires three exposures; one through each of the primary additive colors: Red, Green, and Blue. A Harris shutter is used during a single exposure. It's goal isn't to create a normal looking image, rather to create a full color image with some funky color fringing. Here is a write up on creating a real Harris Shutter.
Have fun with this assignment!
Some good shutter speed images
Elizabeth's photo

Rachel's photo

Carly S.

Raquel's photo

Danny's photo

David's photo

Kelsey's photo

Ajay's photo


Sara's photo

Nisreen's photo

Kristen's photo

Rona's photo

Erich
 So Yun's photo
 Carly F.'s photo

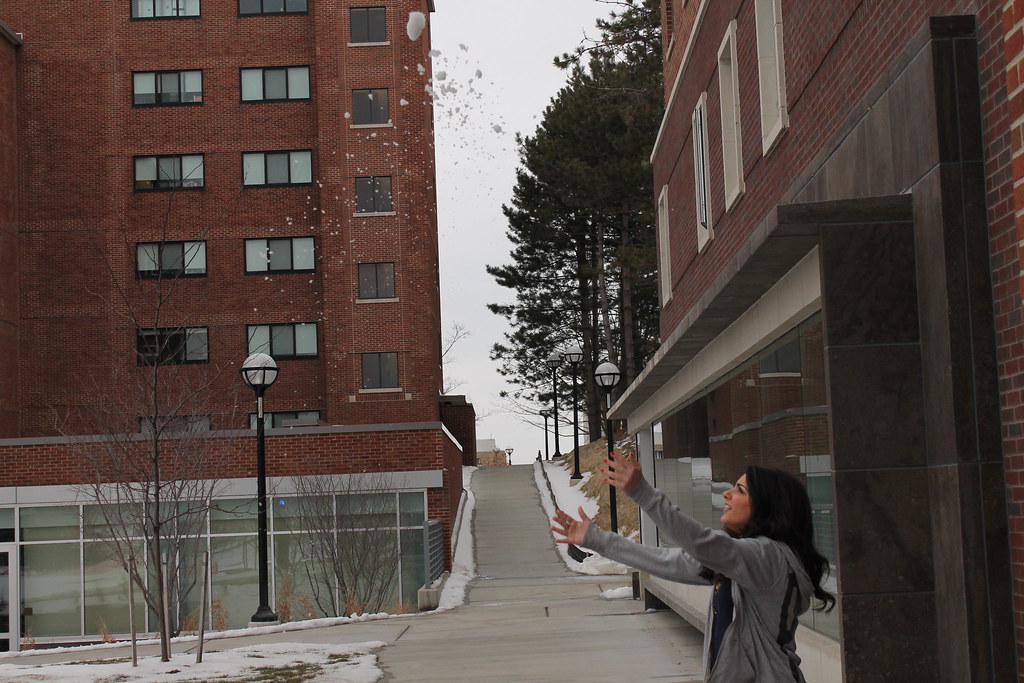
Rachel's photo
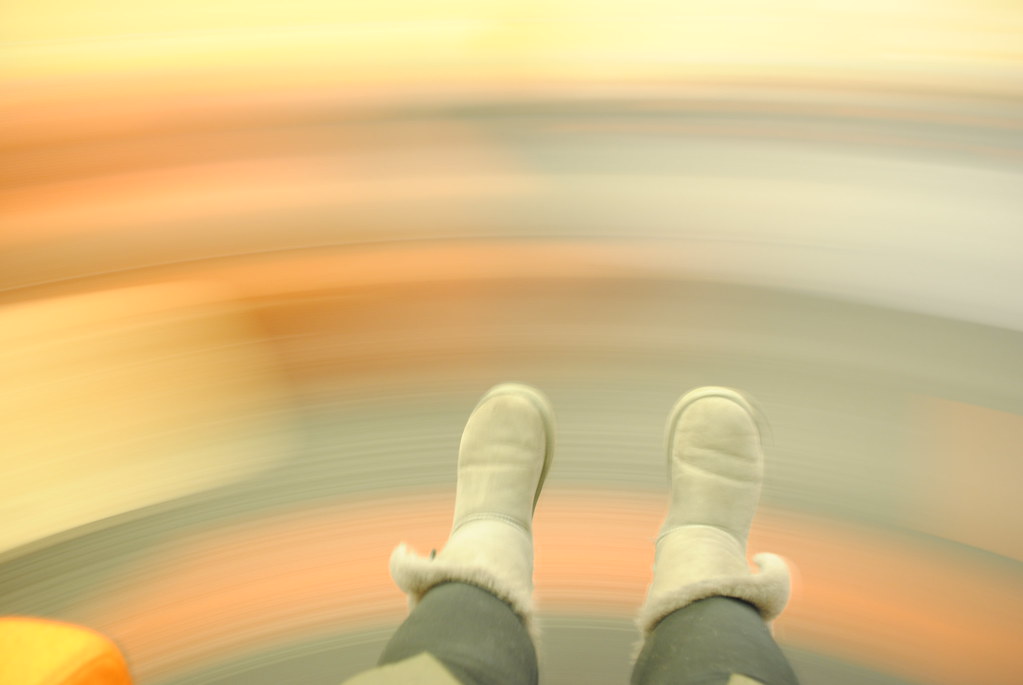
Carly S.
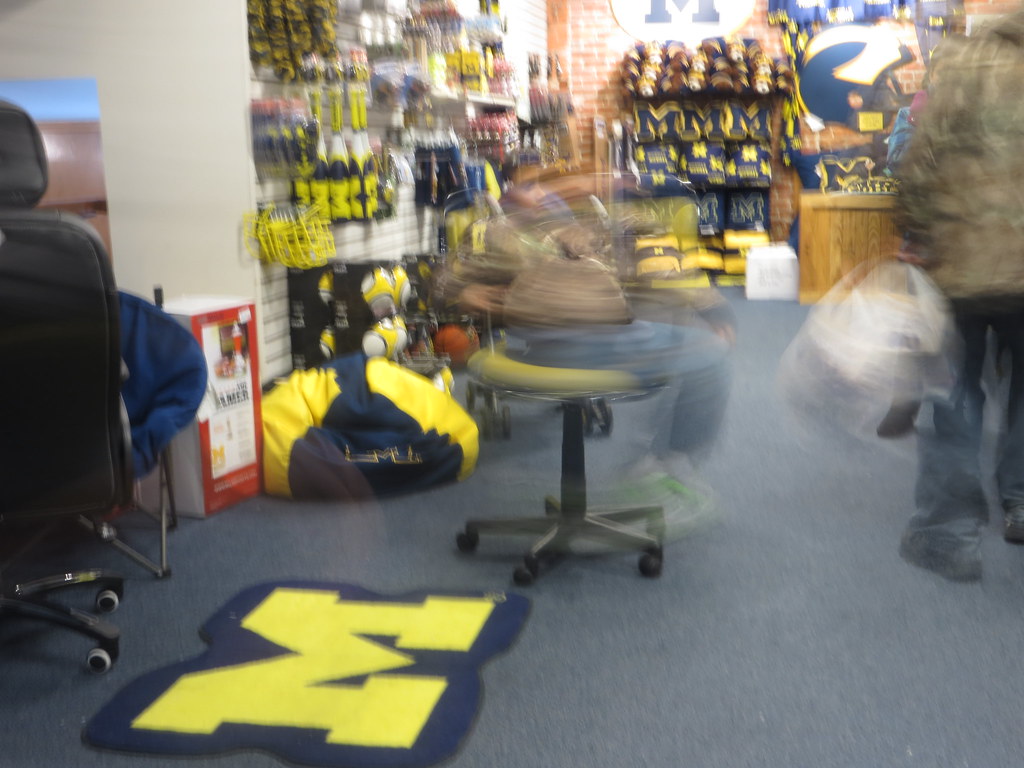
Raquel's photo
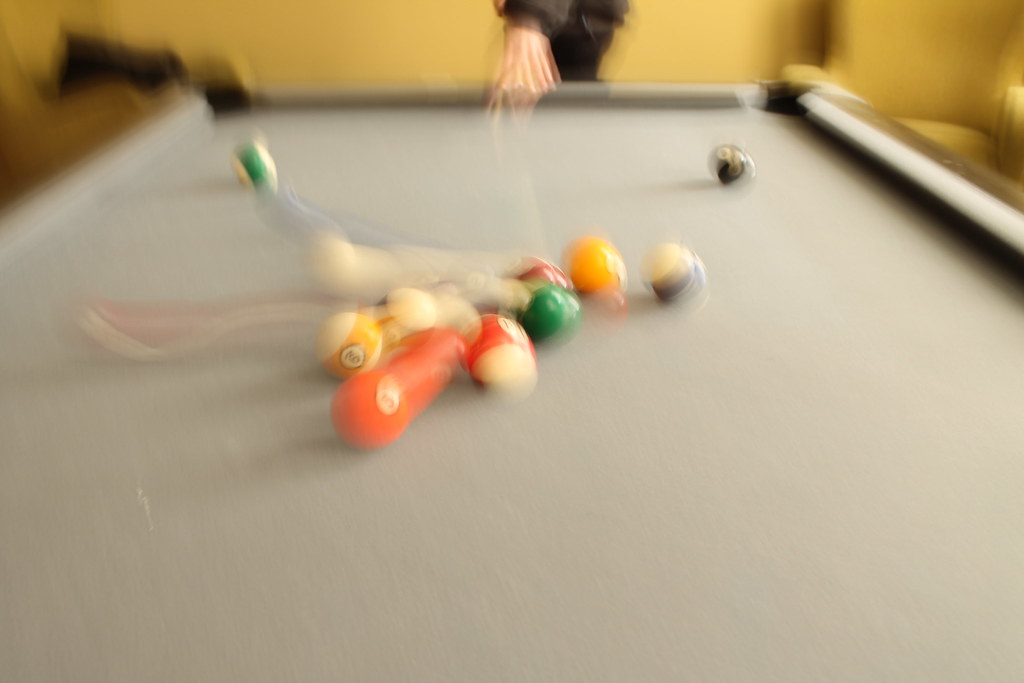
Danny's photo

David's photo

Kelsey's photo

Ajay's photo
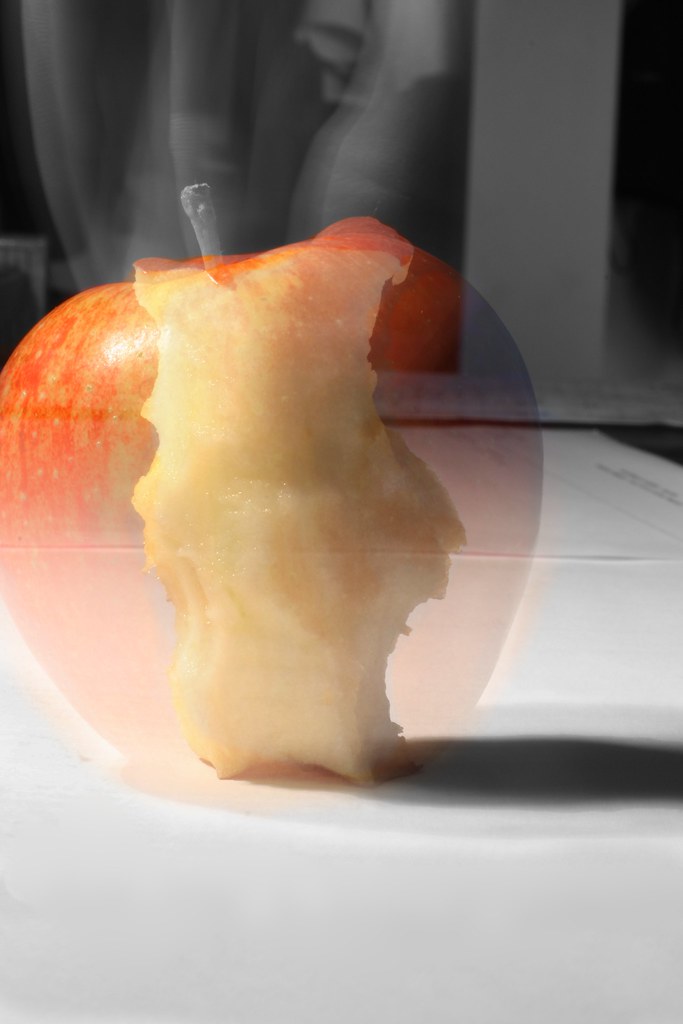
Amelia's Photo
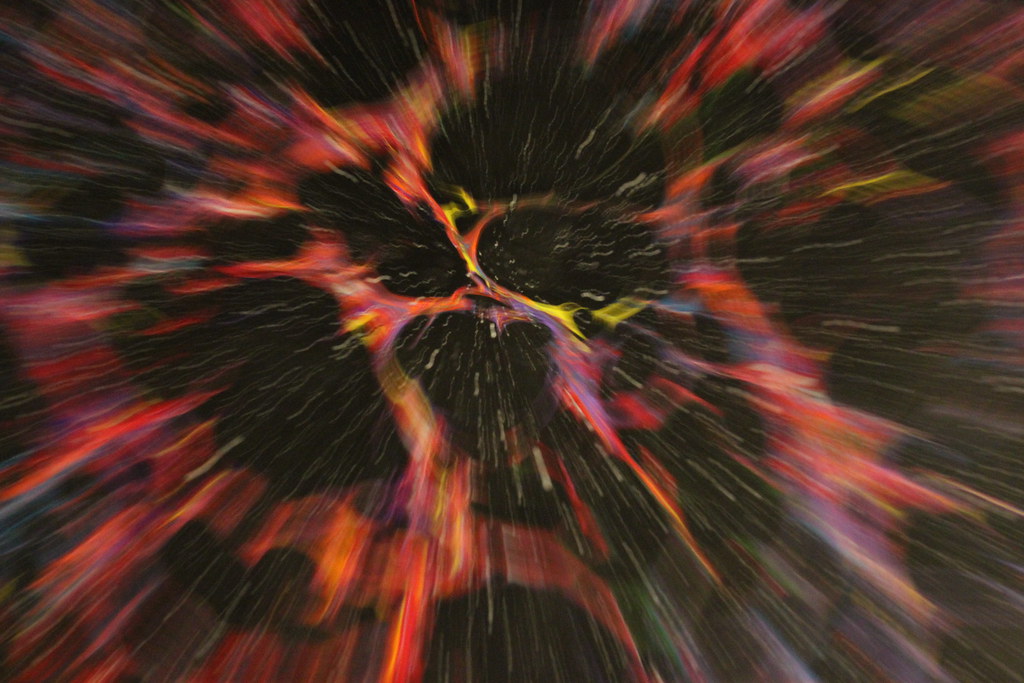
Laura's Photo
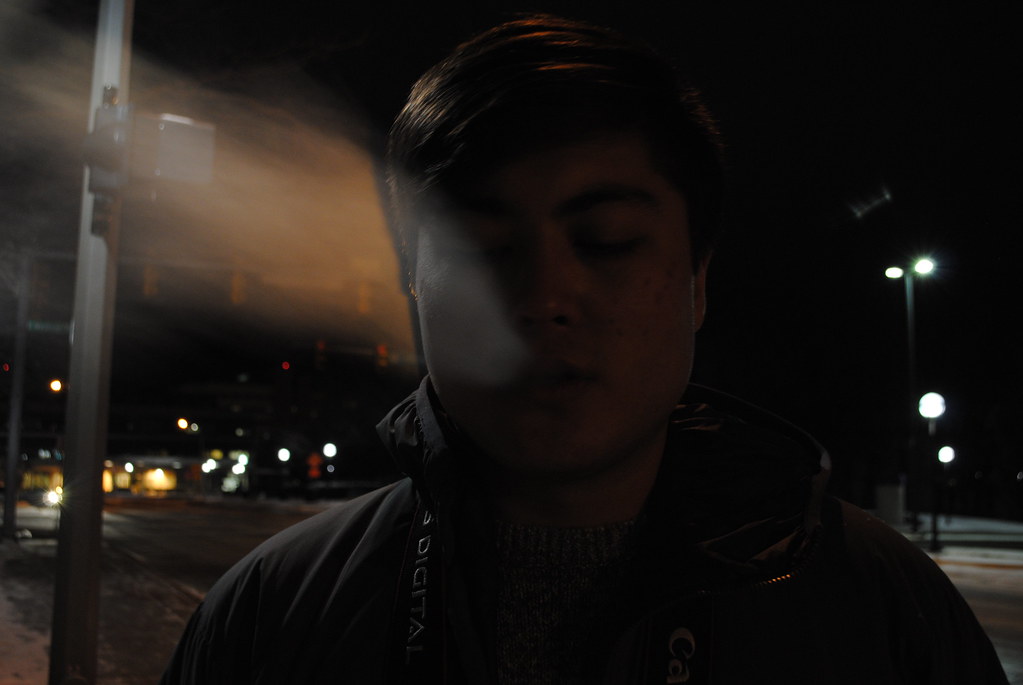
Jamie's photo

Mark's photo
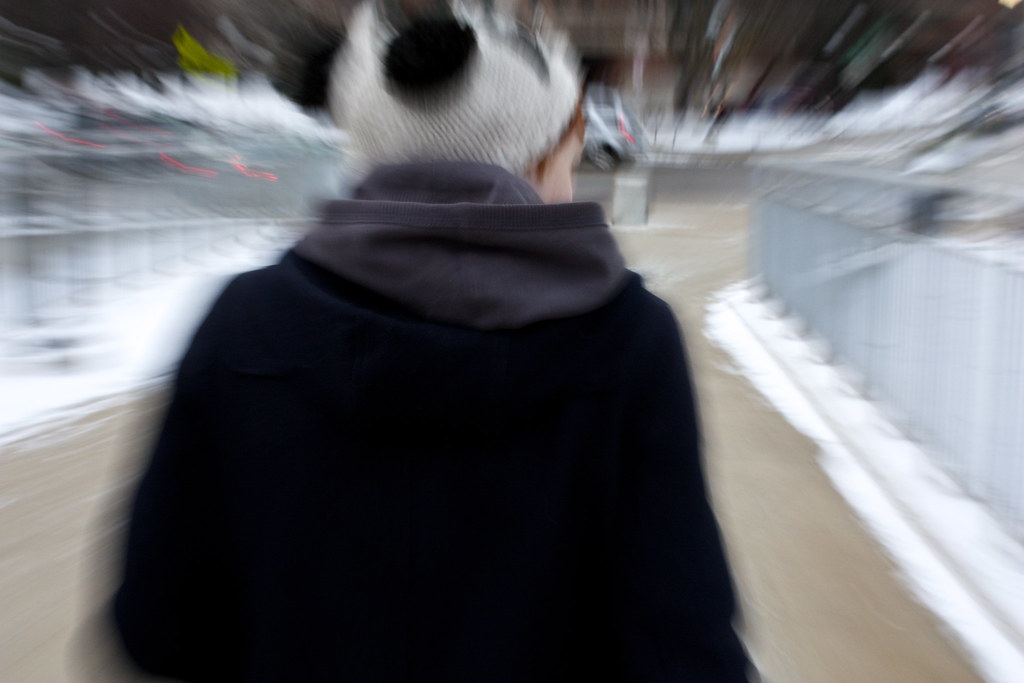
Sara's photo
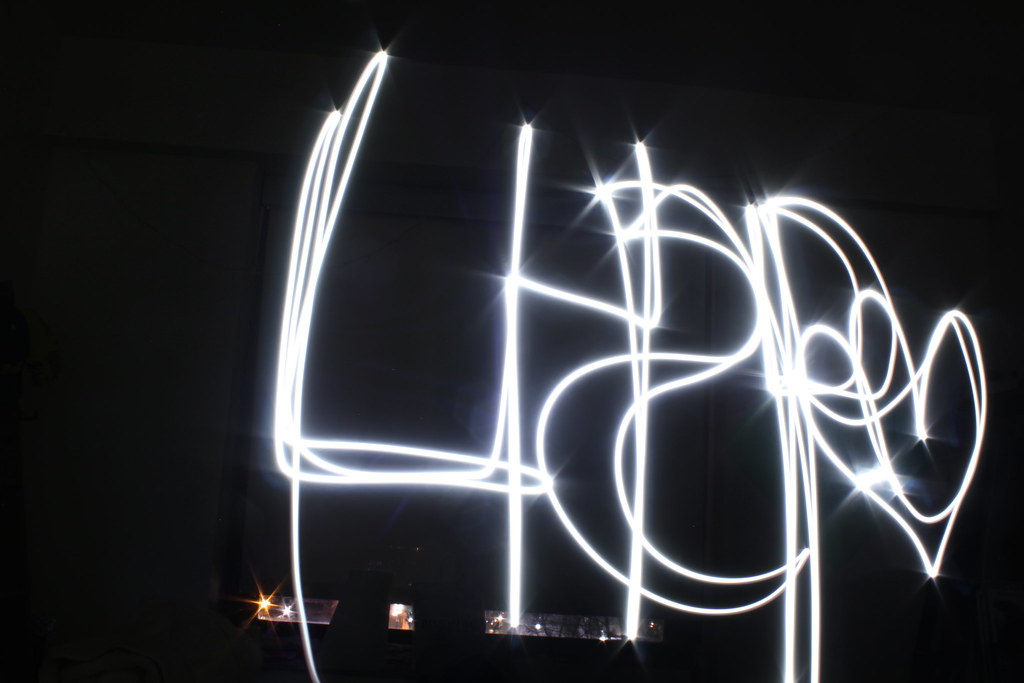
Nisreen's photo
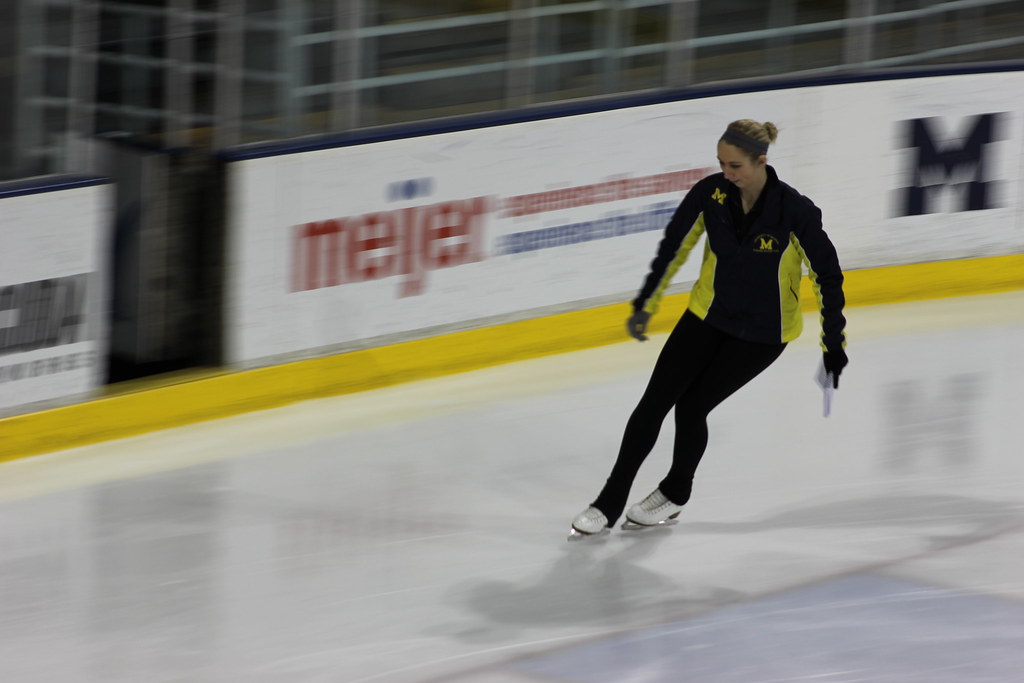
Kristen's photo

Rona's photo

Erich

Subscribe to:
Posts (Atom)