Tuesday, February 25, 2014

Cell Phone Assignment

You can have a look at the earlier two postings for more information
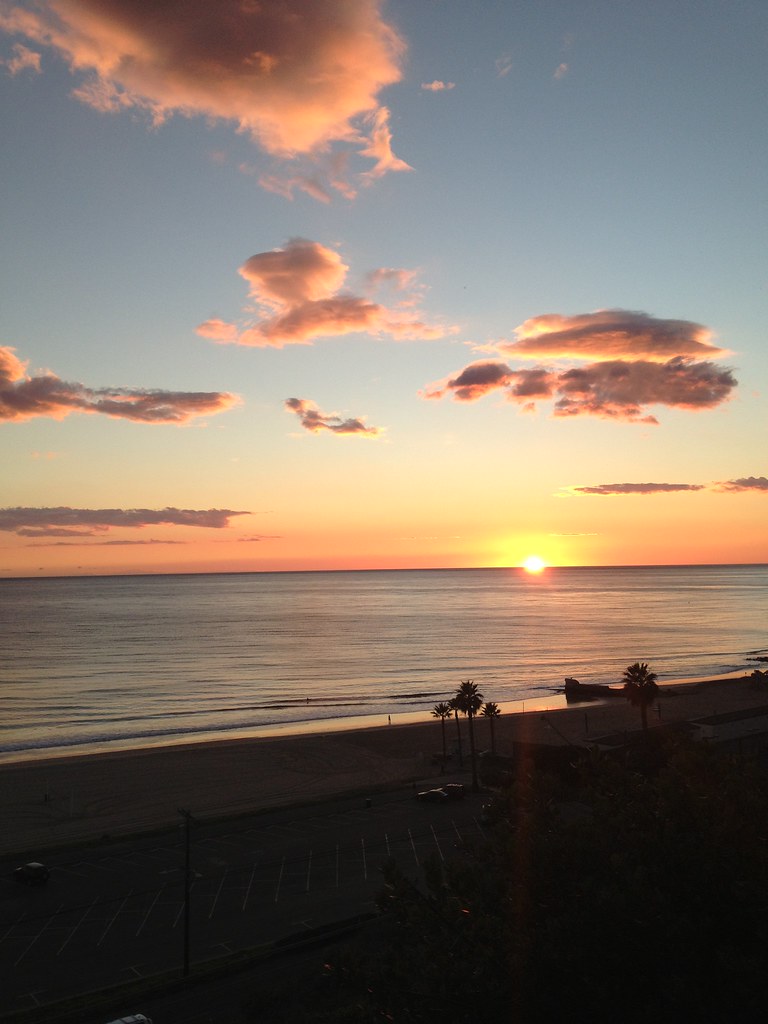
1. 2 HDR image - HDR is short for High Dynamic Range. Basicily, it allows you to capture across a larger range of tones than can be achieved with a single photo. When the feature it activated, you phone will take 2 images in rapid succession. One optimized for the lighter tones in the scene and one for the darker tones in the scene. It will then combine the best parts from both into a single image.  iPhone users can use the default camera with HDR turned on. Android phone users will have to download an HDR app. Email me if you can't find a good one.
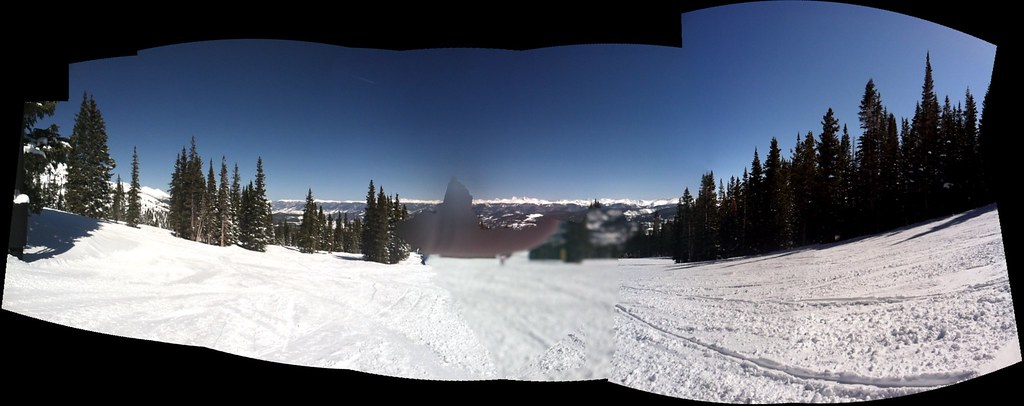
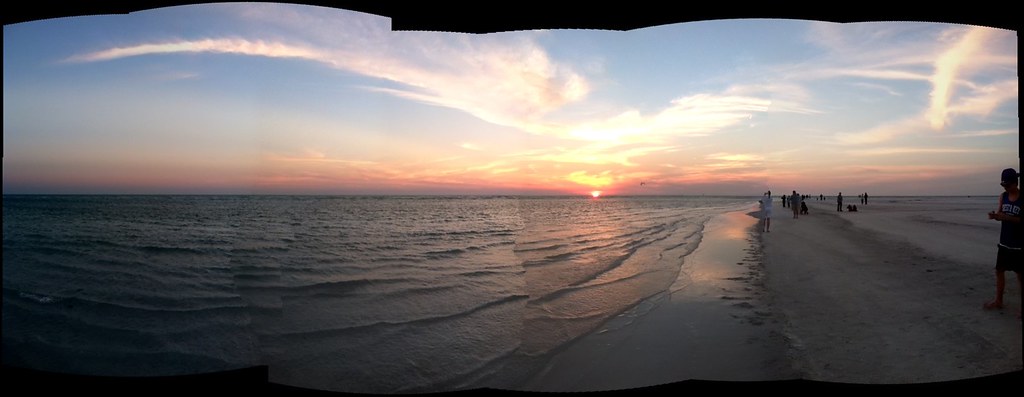
2. 2 panoramas - iphone users can use PhotoSynth (It is a great free app) or the built in pano feature. Android users can use 360 or any other panorama app.
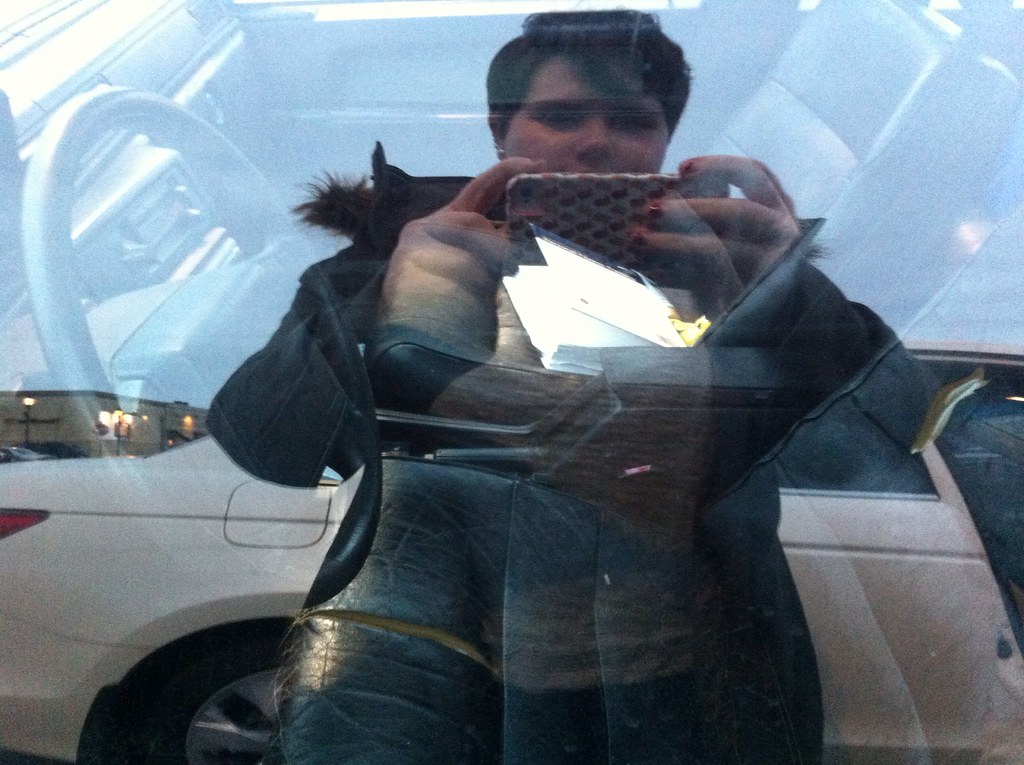
3. 2 images which could only be done with cell phone due to circumstance - think spontaneous images that you couldn't take otherwise- looking inside people's cars - parties - carved up bathroom doors, etc....
4. plus 10 other winners (anything you want)

please place an emphasis on composition

Camera + is a nice app for the iPhone and iPad that allows you to separate the focus selector from the exposure area selector. It is only 99 cents.

You don't need to edit these before next class. Just take them while you are out and about. Upload them to Flickr as you go or when you have time.

Please email me with any questions. 

Have a wonderful vacation.

The best camera is the one that you have with you...

Some information on your next assignment..more to come...I think you can get the gist of it...

Check out this photo contest open to iPhone users only. It is amazing how good some of them look.

Please see if there is an instruction manual available for your phone.

Most cell phone cameras are fixed focus, fixed focal length units. This means that they don't zoom and they don't focus. Remember that wide angle lenses provided greater depth of field than a longer focal length lenses. So, the lens in most cell phones are wide angle. The sensors are very, very small so they pretty noisy compared to most point and shoot cameras. However, the smaller the lens system, the smaller the aperture utilized and thus the greater depth of field. Exploit these qualities of the phone. Also, you can utilize filters and accessories lenses to modify what your camera can shoot and how it is recorded.

Newer high end cell phones such as the iPod 4th generation and most Droid phones have autofocus capabilities. This will only become increasingly common place. In the relatively near future, there will not be any point in having both a smart phone and a point and shoot digital camera.

Blog posting about Dan Burkholer's current iPhone work. Dan Burkholder has done some very progressive work with digital printing over the years. He also shoot a nice series of images about the aftermath of Katrina.

Photo Tecnique article by Dan Burkholder on his use of an iPad and iPhone to take and edit digital photos.


Gizmodo article on cellphone photography. Nice collection of cell phone photography.

Pixlr - a great online photo editing application.

The 300 most important rules of iPhoneography - Half funny and half practical Flickr guide to photography using an iPhone.

Nice article with good links on producing interesting work with an iPhone.

ShakeItPhoto is a fun iPhone app that emulates a Polaroid image.


Andigraf is a fun iPhone camera app that is similar to a multishot camera.

Good links on cell phone photography:


http://digital-photography-school.com/how-to-use-a-camera-phone

http://www.pdnpulse.com/2009/02/shawn-roccos-cell-phone-photography.html

http://cellularobscura.blogspot.com/

http://www.kpbs.org/news/2009/aug/28/cell-phone-photography-project-beyond-border-conte/

http://www.brendaregier.com/

Accessory lenses for cell phones

Spherical fisheye lens and special software that can be used to create 360 degree panoramas. Be sure to check out the immersive panorama samples at the bottom of the screen.

Jelly Lens - a manufacturer of cell phone accessory lenses. They have a surprisingly large variety.

Review of macro lens for HTC phone, but applicable to all phones. Includes links to stores which sale such lenses.

Nice examples of photos taken with fisheye, macro, and wide angle accessory lenses.


Tuesday, February 18, 2014

Technical Assignment #4: White Balance

Please begin by reading this article on White Balance.

Part I
For each of the following lighting situations, I want you to take 3 photos; one using the Auto setting, one using the Daylight setting, and one with whatever setting that yields the most accurate result (you may just want to make a custom white balance from an old gray sweatshirt or sweater for each scene which should provide you very accurate color).

Daylight
Shade
Fluorescent
Tungsten (traditional household screw in light bulb)
Mixed Lighting Situation (two or more light sources of different color)

Edit the tone of the images, but not the color.  Post those to Flickr in a new set titled WB Assignment.

Part II
Edit them all to the best of your ability. This includes color.


Technical Assignment #3: ISO

ISO Assignment

Here is a nice little explanation of ISO by dpreview.com which is a nice source for camera reviews.

Here is a great write up about ISO by Nikon.

PART I
You are to take the same photo using all the ISOs that your camera offers. You can go by full stops; you don’t have to include fractions stops. So, it is likely that you camera’s native ISO is either 100 or 200. Start there. Determine the correct exposure. You need to change your shutter speed and aperture each time you change your ISO. For example, let's say you start with f5.6 @ 1/125 using ISO 100. When you change the ISO to 200, the camera only requires 1/2 the amount of light so you must either change your aperture to f8 or change your shutter speed to 1/250. Your exposures must be reciprocal (they should all be the same in terms of brightness). As such, the histograms should be nearly identical for all the shots. When viewed small, you shouldn’t be able to see any differences between the shots.

It will be easiest to achieve this outside on a nice day, but you can do it inside or with low light levels outside if necessary. In low light, you may have to use a slow shutter that will necessitate the use of tripod or putting the camera on something solid and releasing the shutter using the self timer. Whatever you shoot, make sure there is a variety of color and tone in the scene.

Since most of you will have a subset of the following ISOs, you should be able to complete this with less than 8 shots total.
50
100
200
400
800
1600
3200
6400

PART II
I then want you to zoom into the resulting images either on your camera, on Flickr, or using Bridge. If you zoom into 100 or 200% you should see considerable difference between the shots taken with a low ISO and those taken with a high ISO. Often, there isn’t considerable difference between the lowest few ISOs, but at some point there is a big decline in image quality. Is there a particular tonal range that you find the noise most prevalent? Describe the characteristic of the noise. At what ISO do you feel that the image becomes unacceptable? Please write your responses to these questions and your observations on ISO in the description of your highest ISO image on Flickr.


Additional good books on editing using Adobe Photoshop CS6, CC, and Lightroom

There are an insane number of books on image editing out there. Many of them are junk. Many are written by people whose most ambitious photography is of cats. 

Martin Evening is a commercial photographer who writes some of the very best books on editing photos. They are well written with great example photos. Both of these are available in their entirety for free via UM's library (assuming you are a UM student).

Adobe Photoshop CC for Photographers by Martin Evening

Adobe Photoshop Lightroom 5 Book : The Complete Guide for Photographers  by Martin Evening

Keep your Daily Shots updated on Flickr in a Set

Remember to upload your daily photos to Flickr at least once a week. Please keep them organized in a set.


Nice examples from the Shutter Speed assignment

Courtney's
Courtney
Robbie
Celeste
Tiff
Noah
Marlee
Emma
Rachel

Direct link to the Members page of the Flickr Group

Members of the LHSP Winter 2014 Flickr group


Monday, February 17, 2014

Agenda for 2/18/2014

Quiz #1 at the beginning of class (be sure to have read chapters 1-4 of the text on editing)

We will look over your creative DoF images.

I will give a demo on White Balance and ISO.

We will do some editing in class so that I can see how you are making your edits.

If you have a laptop, but don't have Photoshop, please give Virtual Sites a try. It allows one to remotely control a virtual computer. The advantage being it has Photoshop loaded on it. Some people have had success with this and others haven't. Give it try and see what you think if you don't have PS.
http://lhspphoto.blogspot.com/2013/01/virtual-sites.html

If you have a laptop and PS (or you want to try Virtual Sites), please remember to bring it to class. Be sure to bring what is necessary to transfer files to the computer.

If you don't have a laptop, don't feel like it is up to snuff, or just prefer to use a computer in the lab, you can use the computers in the lab downstairs when we edit.

Given that we will do some in class editing, please be sure to have your files with you.

Home work will be on WB and ISO. 

Be sure to bring your mobile phone charged up for class on 2/25. 

Virtual Sites & Mfile

Virtual Sites is UM's 'remote computing' service which allows you access to the programs on UM's computer labs. From their website, "With Virtual Sites, you can use the software on Campus Computing Sites Windows workstations remotely from any Mac or Windows computer with an internet connection."
This includes Photoshop. Please give it try and see how well it works for you. I tried it and it works surprisingly well. It takes a few minutes to load, but once it does it's pretty quick. When you first open up Virtual Sites, you will see the window pictured below. Be sure to change your connection speed to LAN (10Mps) as that most closely matches you connection speed you are likely using.


Here is a document that provides some info on setting things up and using the system. 

Mfile is essentially UM's cloud storage system. You have to upload your files to Mfile in order to access them when using Virtual Sites. Once you have your files on Mfile, the are accessible by clicking the My IFS Space icon on the desktop. This is the only directory to which you should save your work.
Alternatively, you could upload and download your files from any other online service such as M Box or Google Drive, etc...


Tuesday, February 11, 2014

Technical Assignment #2 Aperture/ DoF

I suggested that you complete this assignment outside on a nice day. Given the variability of the weather, you may have to complete the exercise indoors. 

The idea of this assignment is for you to see the change in depth of field as you change your aperture. Of course, as you do so the amount of light that is allowed to reach the sensor changes which necessitates changes to the shutter speed and/or ISO as well. If you were to complete this assignment outside on a sunny day, you would likely be able to complete it by simply changing your shutter speed as you changed your aperture. The general rule of thumb is don't use a higher ISO unless you need to. When do you need to? When your shutter speed drops below 1/60 without the use of tripod.

You can complete this outside in overcast light outside or even indoors. You will just have to increase the ISO at the point that a shutter speed of less than 1/60 is required. Let's say you start out by determining that f3.5 @ 1/125 at ISO 200 is the ideal exposure (the histogram is as far to the right as possible without climbing the wall). You begin by taking that shot. Then you take a shot at f4 @ 1/ 100 at ISO 200. The next in the cycle would be f5.6 @ 1/50 at ISO 200; however, that means a shutter speed of less than 1/60 at which point you risk having a blurry image due to camera movement. So, you would instead go with f5.6 @ 1/100 at ISO 400 which is a reciprocal exposure (it results in an equivalent image in terms of brightness). From there, you would go to f8 @ 1/100 at ISO 800. Then, f11 @ 1/100 at ISO 1600. Then f16 @ 1/100 at ISO 3200. Of course, if you don't have ISO over 1600 available, then you would have to go with f16 @ 1/50 at ISO 1600.

1. You are to create two sets of images for this assignment. One in which you photography elements that are relatively close to you. Perphaps a table top set up of condiments. You need a middle subject, background, and a foreground subject. Focus on the middle subject for all the shots. Go through the entire aperture range. 

2. Do it again using 'real world' subject matter such as a a friend in front of some background with some kind of foreground element. Perphaps three friends outside each about 10 feet apart. Focus on the friend in the middle each time. 

3. Lastly, photograph 10 images demonstrating a creative use of depth of field. Please spend some time on these to get some good images. 

Put all three sets on Flickr using appropriate Set names.

Here is a short article that describes Aperture with a few examples.


Sunday, February 9, 2014

What's due 2/11

Re-shoot your Shutter Speed assignment if necessary.

Shoot more for the 2014 assignment if you feel compelled to.

Read the materials linked to in the post below.

Edit the 4 best of your 2014 assignment. Post them on Flickr in a new, appropriately named set.


Tuesday, February 4, 2014

Editing Raw Files

Ansel Adams wrote, "The negative is comparable to the composer's score and the print to its performance. Each performance differs in subtle ways."
The same can be said for editing your RAW files. Editing takes considerable time. It is a thoughtful, contemplative process. It is not a race to be done.

There is much in regards to digital imaging and photography that isn't intuitive. Editing your images is one such example. The biggest thing that students have trouble with is failing to make full use the full tonal range of the image.

Please read Chapters 1&2 in The Digital Negative: Raw Image Processing in Lightroom, Camera Raw, and Photoshop by Jeff Schewe. This book can be found and read online through UM's library system in the same way that you read the other book.


One of the biggest struggles that students have is learning to adjust the distribution of tones in an image. Technically speaking, when you are shooting, your job is to capture all the data in the scene without clipping important highlight information. Your job in editing is to re-arrange those tones to make full use of the tonal range and create an attractive image.

If you see data climbing the right and left walls of an image, that is data containing no detail. I find if helpful if you think of lost detail as not having texture. If you grossly overexpose an area to the point that the data is climbing the right wall, let's say it is a white t-shirt, then the photo of the t-shirt won't have any sense of texture to it. You won't be able to tell if there was a pattern or what type of fabric it was. In a nut shell, you should set the black and white point of an image so that the data just kisses both sides of the histogram without climbing it. Of course, there are exceptions to this such as when you deliberately allow the white of a specular highlight to go to pure white.

If you see that there is a gap between the right wall and the image data, then you are not using the full range of tones available to you. Move the White slider until the data just kisses or nearly kisses the wall. If you see that there is a gap between the left wall and the image data, then you are not using the full range of tones available to you. Move the Blacks slider until to left until the data just kisses or nearly kisses the wall.You should do these edits first, then edit the other tones. At a minimum will likely have to adjust the midtones a bit using the Exposure slider or Curves.

Simply put, if you only use part of the tonal range, then you will have a flat (lacking contrast) image.
Like any advice, it is good to hear it from multiple people. Here are some tutorials on the use of Adobe Camera Raw that I highly recommend. These are written for Adobe Photoshop, but nearly everything is the same between PS and LR as far as the editing of RAW files is concerned.
I would like you to watch these videos. If you are struggling to understand the editing of RAW files, these will really help. The first one in particular.

Start with this one:
Adobe TV video featuring Julieanne Kost introduction to ACR. Great step by step tutorial in which she explains the choices she makes. If you like it, and I think you will, it is part of a longer video series featuring her. Click here to see all the episodes of The Complete Picture with Julianne Kost.
Russel Brown a long time Adobe evangelist and a pretty funny guy, has been posting some really great tutorials and scripts to his website for a number of years. I mention it now because he has some nice tutorials on working with Adobe Camera Raw in Photoshop CS4. He takes a novel approach in some of the tutorials in which he edits others' files.
The Russel Brown Show